I've loved working on the ThroughLines series of collages and plan to extend that thinking to more work eventually but, for now, I've returned to working with ideas generated from the "Unboxed" collage series that debuted in a 2016 exhibition.
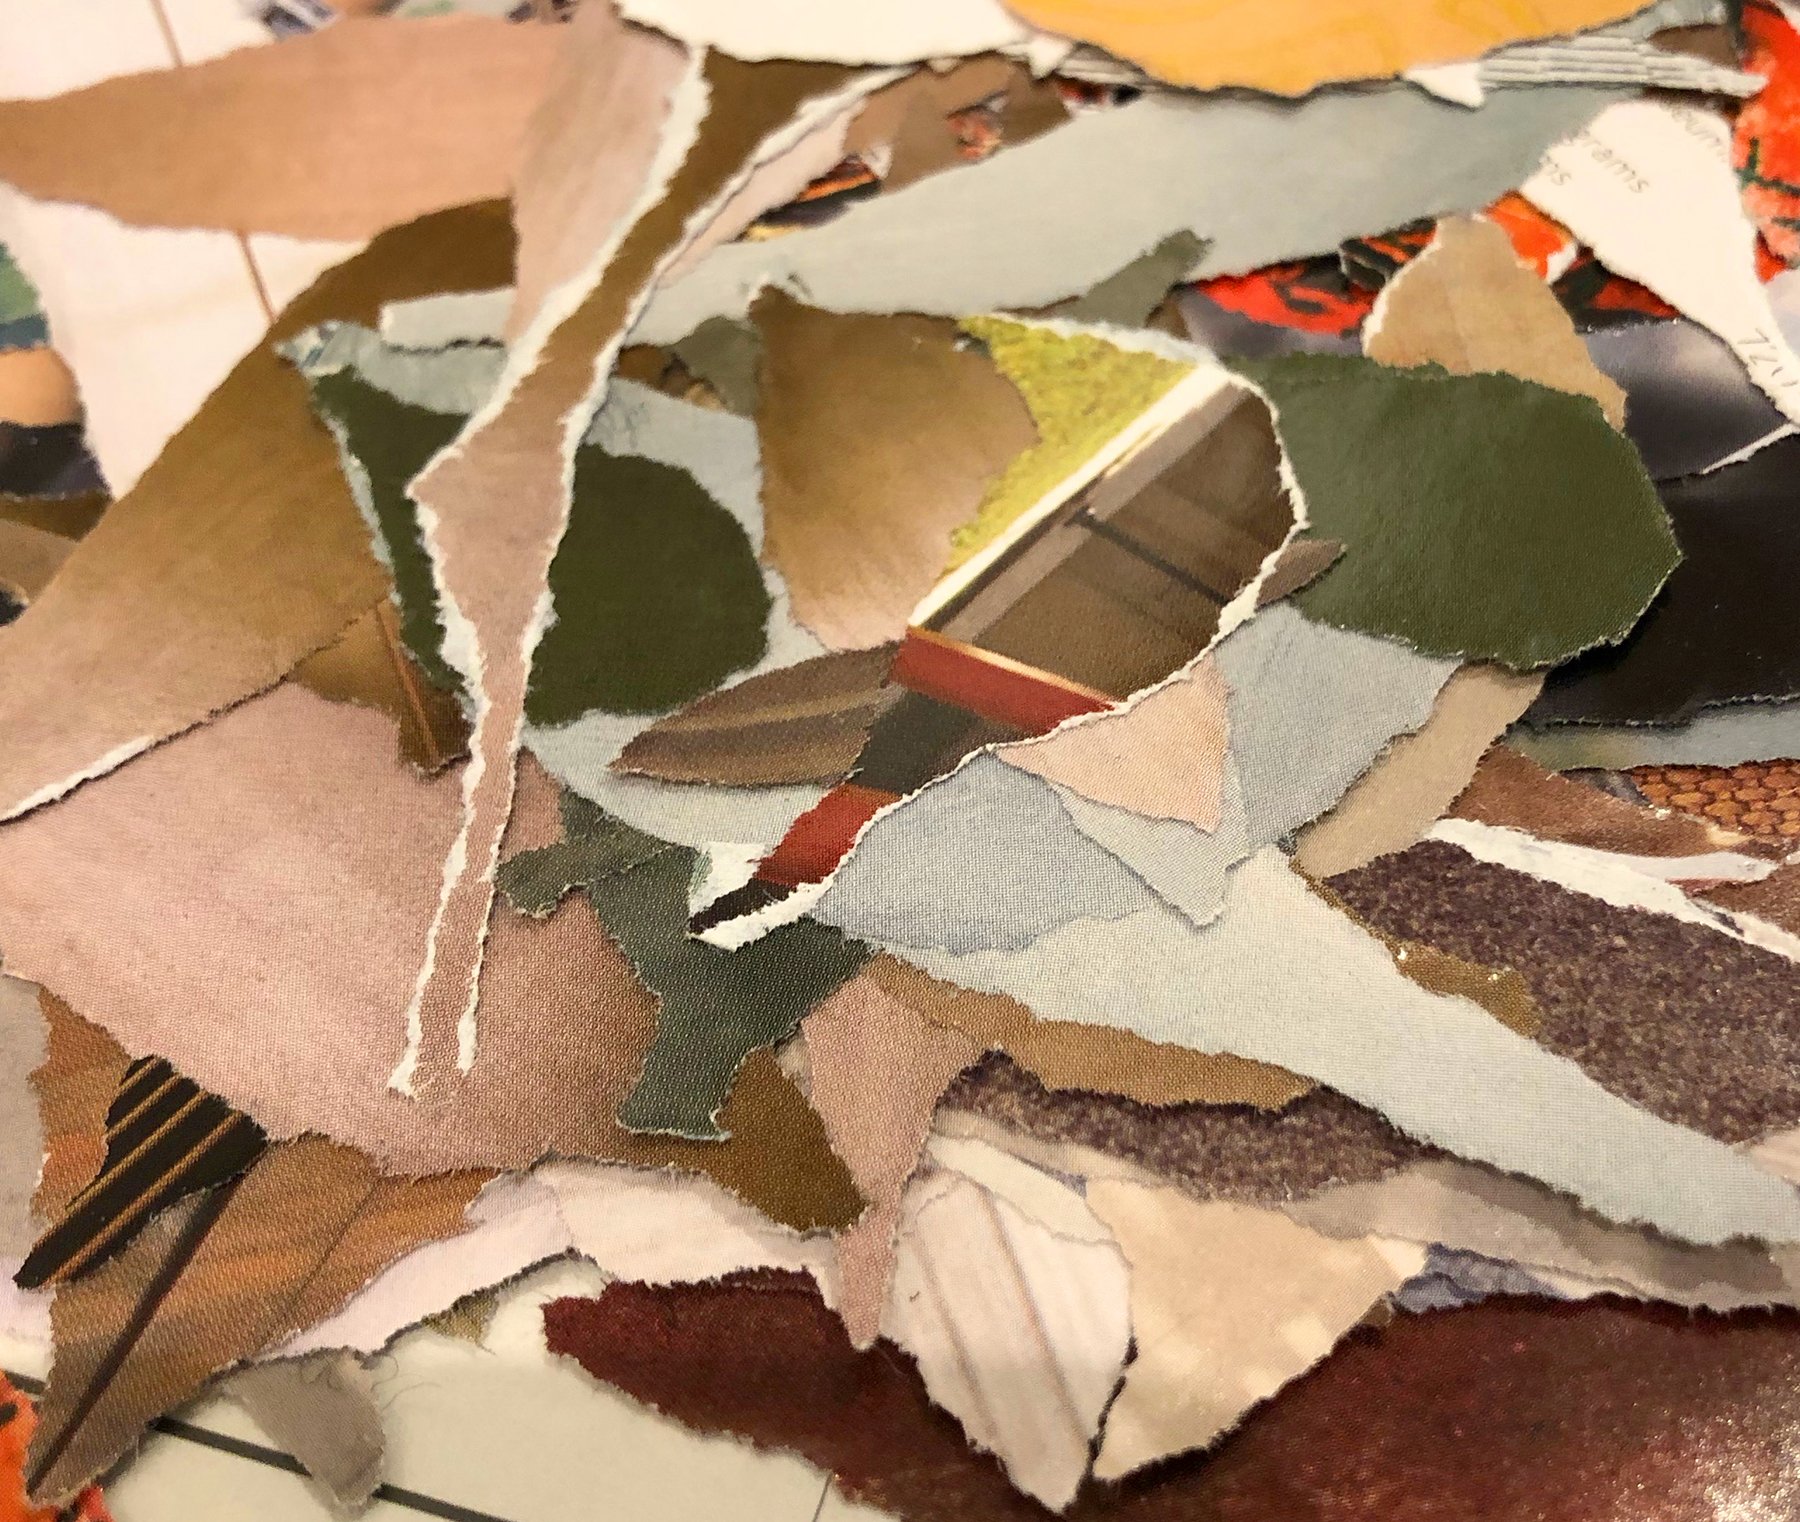
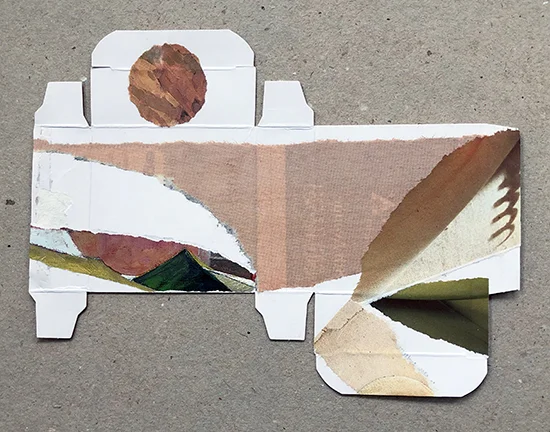
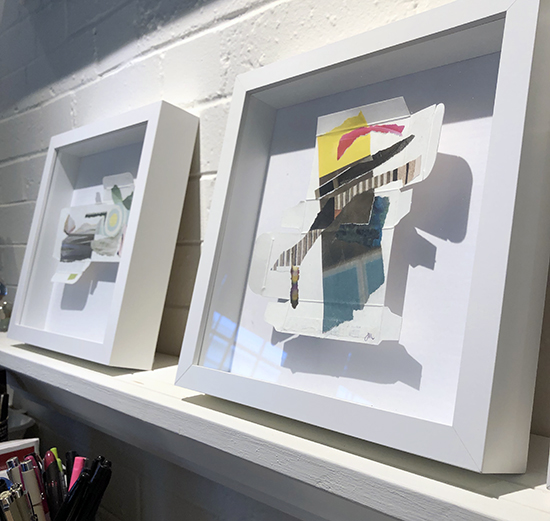
This next show is coming up fast so I quickly reset the studio, put away all those beautifully ripped strips of paper, and pulled out the flattened boxes that I'd been saving for just the right moment. I've made more than two dozen collages on flattened hotel soap boxes, along with other pieces that have been on my mind since the original show of Unboxed collages. I'm still finding it really intriguing to respond to the irregular shape and fold lines with found paper elements. The collages are currently in the process of being framed.
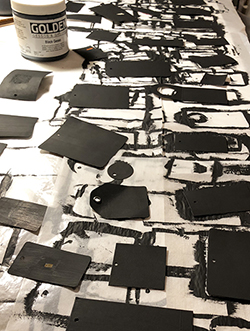
In the past, I've made collages on flattened boxes that were first painted black and that work continues... They are such interesting shapes on their own that I'm also working on a large installation of flattened and painted boxes to animate the space in the gallery under a black metal stairway. It'll be a wall scaled collage, composed on the spot, out of black flattened boxes.I'll also be installing some experimental work on an arrangement of hangtags (the kind that typically describes clothing features). It's inspired by the racks of formica chips I used to see hanging at hardware stores. My version will be a lot more varied and freeform, with each tag hanging from its own nail and combining to whirl up one wall in its own composition. At least that's how I'm envisioning it... can't wait to see how it turns out!
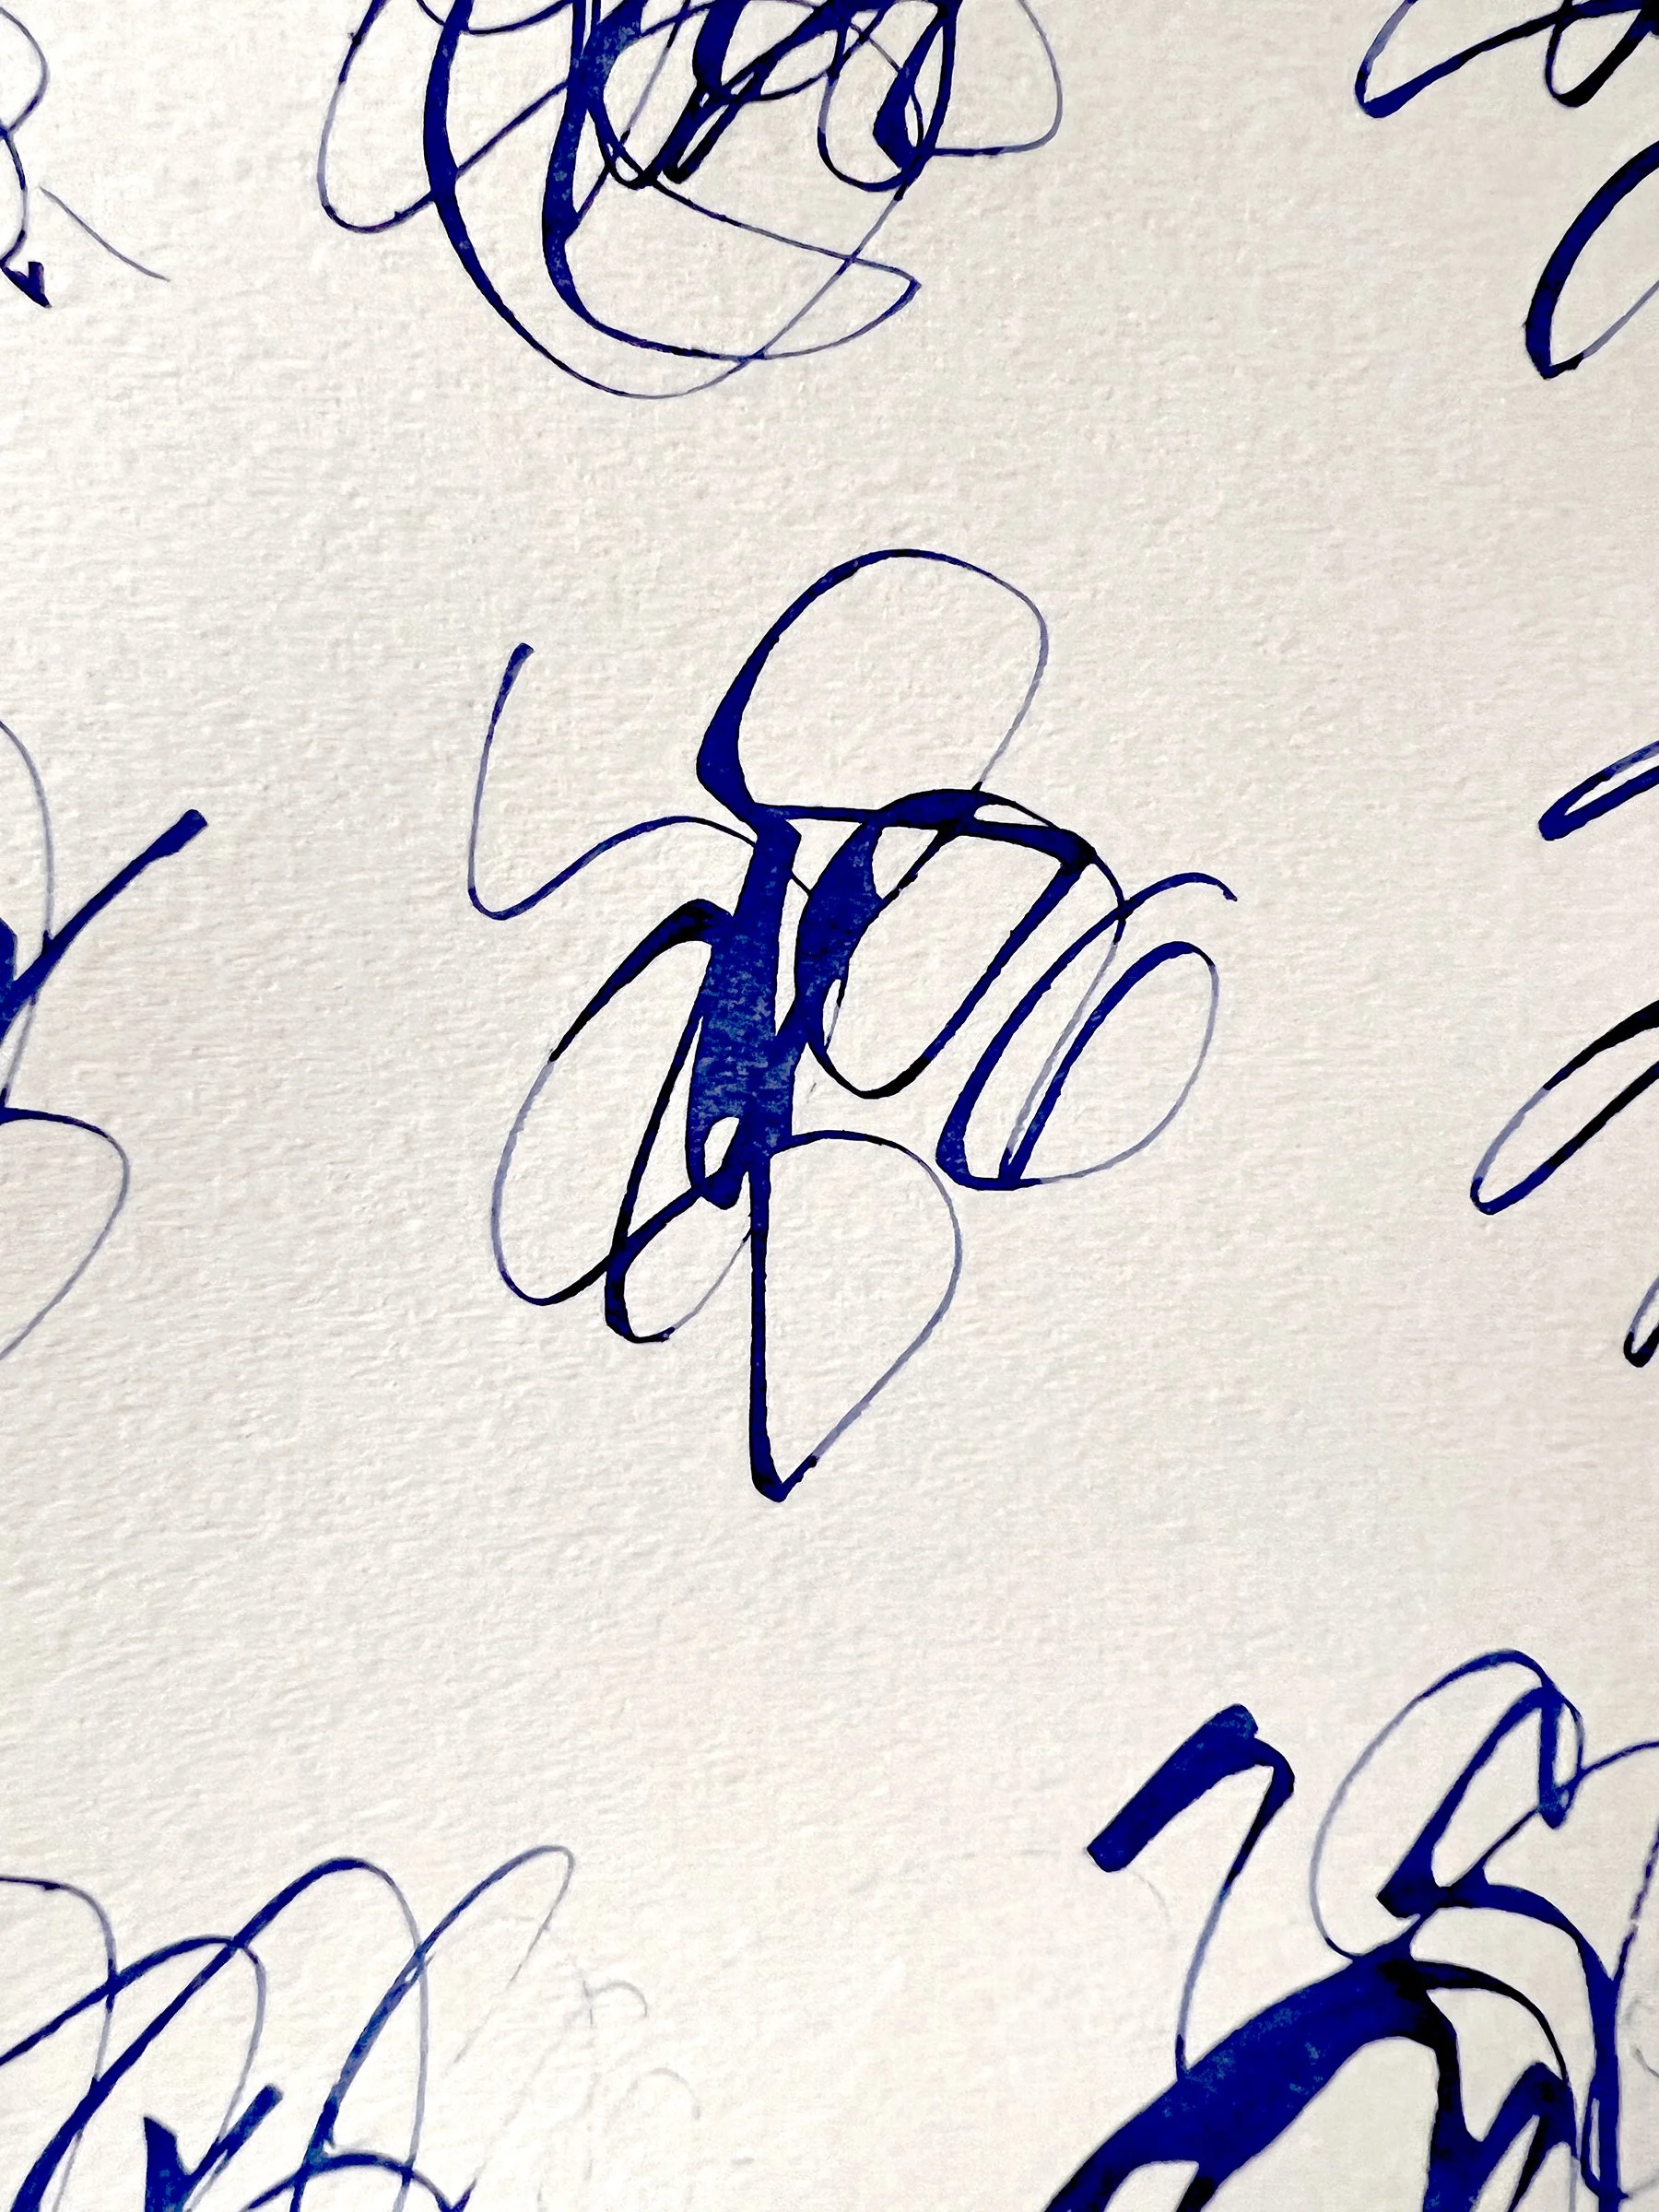
I'm totally enchanted by the the very graphic nature of the papers that are being created as I'm preparing the boxes and tags with black gesso... it's bound to turn up in future work.
Salvaged Elements will be on view December 7 -28 at ReCreative Denver Gallery. I'm showing with fellow collagist Lili Francuz. If you're in the area, please come by sometime during the run of the show -- or for the opening on Friday, December 7 from 5-9pm when you can also enjoy the festive Luminariaevent associated with First Friday in Denver's Arts District on Santa Fe. (If you haven't been to ReCreative before, note that you have to walk to the back of the Creative ReUse Store to access the gallery... assuming you can get past all the potential art/maker supplies you'll encounter on the way!)